 Tromsø Northern Lights Trips
How to Photograph the Northern Lights With a Phone

Guests ask us how to photograph the northern lights with a phone almost every single night, usually right after their first sighting leaves them a little disappointed. It comes down to three settings and one piece of physics most people never learn: night mode, a 3 to 10 second exposure, and something solid to brace the phone against, because your eyes and your camera are not seeing the same sky. We have watched hundreds of guests lower their phones convinced the display in front of them looked stronger a minute ago on a friend's screen. It did, and there is a real reason why, not a trick. Once you understand it, the settings below get you a genuinely good photo of your own, on a chase where every operator hands you professional shots the next day regardless.
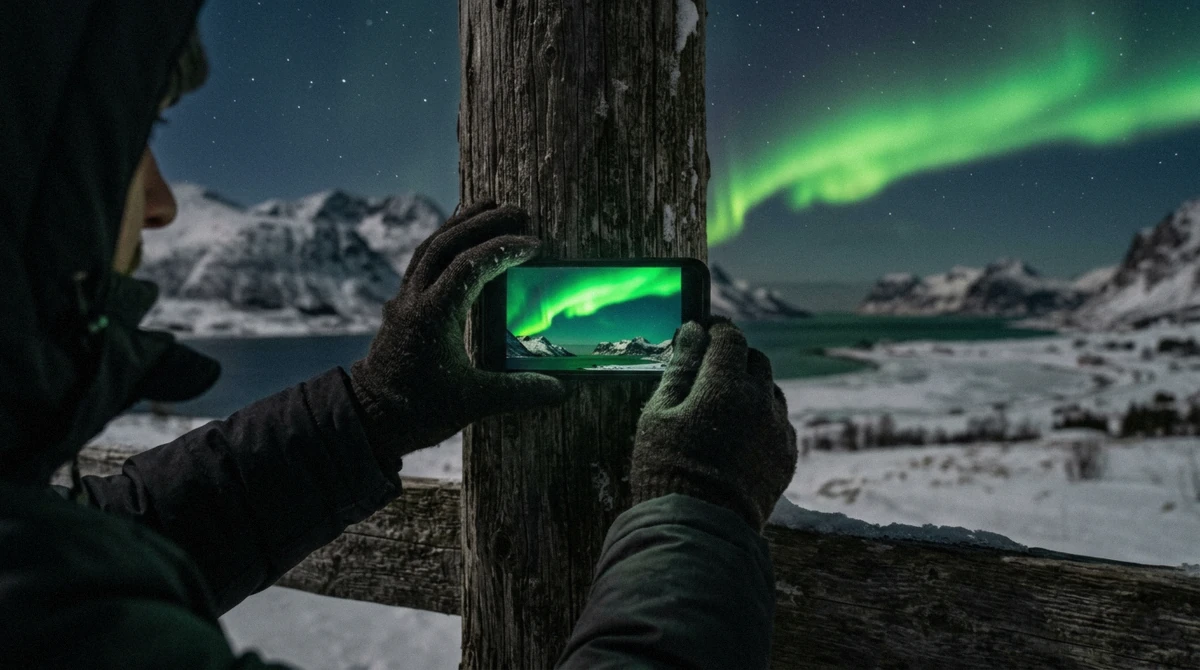
Quick answer
Switch your phone to night mode, let it expose for 3 to 10 seconds, and brace it against something solid, a rail, a rock, a tripod, since handheld at 3 seconds smears the shot. Every northern lights chases with a guide photographer also hands you professional photos the next day, so your phone shot is a bonus, not the only record you will bring home.
Key takeaways
- Night mode with a 3 to 10 second exposure is the setting that matters most, braced, not handheld
- Handheld at 3 seconds smears; rest the phone on anything solid instead of holding it free
- The green you see in photos is often stronger than what your eyes register live, and that is normal physics, not a bad phone
- Cold drains batteries fast, keep a spare or your phone in an inside pocket between shots
- The northern lights chase lends tripods, useful if you did not pack your own
- All six operators deliver guide-shot photos by download link the next day, a real backup to whatever you capture yourself
Why the Camera Sees More Than You Do
In low light your eyes switch to rod cells, which are built to read shape and movement but almost no colour. That is why a strong aurora often looks like a pale grey-green ribbon moving overhead rather than the vivid green you have seen in every photo online. A camera on a long exposure does not have that limitation, it gathers light over several seconds and records the actual green wavelength the aurora emits, colour your rods simply cannot register in real time.
This is also exactly why so many guests write disappointed reviews after their first sighting: they expected their own eyes to match a photo, and the physics of night vision makes that impossible for most displays. A grey-green ribbon to the naked eye is completely normal and still a real aurora. Colour visible to the naked eye without a camera generally needs a strong display, Kp 5 or a substorm, the kind that puts light directly overhead rather than as a distant arc.
Once you understand that gap, a phone photo stops feeling like proof the display was weak and starts feeling like what it actually is, a camera doing exactly what it is built to do. We tell every guest this before the chase even starts, because the alternative is standing under a genuine aurora and feeling let down by your own eyes for no reason.
Phone Settings That Work
Every current phone handles this differently, but the underlying settings are the same across brands.
| Phone | Mode | Exposure | Focus | Note |
|---|---|---|---|---|
| Recent iPhone | Night mode (auto-triggers in low light) | Set manually up to the max the phone offers, aim for the 3 to 10 second range | Tap a bright star or the horizon to lock focus, then switch to manual if the phone allows it | Night mode sometimes stops short of 10 seconds on its own, drag the exposure slider up manually |
| Samsung Galaxy | Pro mode | 3 to 10 seconds | Manual focus set to infinity | Pro mode gives the most direct control of any of the three, worth learning before the trip |
| Pixel, Night Sight | Night Sight (Astrophotography mode triggers automatically on a tripod) | 3 to 10 seconds, longer automatically if the phone is fully still | Tap to focus on the brightest point in the sky | Astrophotography mode needs the phone genuinely motionless, a tripod helps it trigger |
Handheld at 3 seconds smears the shot almost every time, the exposure is long enough that ordinary hand shake blurs the stars into short streaks. Brace the phone against a rail, a rock, a car window frame, or a tripod, whatever is solid and still, before you press the shutter.
One more habit helps across all three phones: switch off the flash entirely and dim the screen brightness before your eyes adjust to the dark, since a bright screen between shots resets your night vision and makes it harder to see the display building in the sky between frames. Give your eyes a few minutes to adjust once you arrive at a stop, and you will pick out a faint arc long before your phone's preview screen shows anything worth photographing.
Camera Settings if You Brought One
For anyone bringing a mirrorless or DSLR, the settings that work reliably from a still tripod.
- Wide lens, the widest you own, to capture as much sky as possible in one frame
- Aperture at f/2.8 or faster to let in as much light as the lens allows
- ISO between 1600 and 3200 depending on how bright the display is
- Shutter speed 2 to 8 seconds, shorter if the aurora is moving fast, longer if it is faint and still
- Manual focus set to infinity, checked against a bright star before the display starts, autofocus struggles in the dark
- A remote shutter or the camera's timer to avoid shaking the frame at the moment of exposure
| Setting | Value | Why |
|---|---|---|
| Lens | Wide, the widest you own | Captures as much sky as possible in one frame |
| Aperture | f/2.8 or faster | Lets in as much light as the lens allows |
| ISO | 1600 to 3200 | Depending on how bright the display is |
| Shutter speed | 2 to 8 seconds | Shorter if the aurora is moving fast, longer if it is faint and still |
| Focus | Manual, set to infinity | Checked against a bright star before the display starts, autofocus struggles in the dark |
| Shutter release | Remote or the camera's timer | Avoids shaking the frame at the moment of exposure |
Holding the Phone Still Without a Tripod
Not everyone packs a tripod, and you do not strictly need one. A car roof, a fence rail, a rock at the right height, or even your own gloved hand pressed flat against a solid post all work as a brace for a 3 to 10 second exposure. Bracing your elbows against your ribs and holding your breath during the shot helps too, the same trick that steadies a long-exposure photo on land.
Cold is the other enemy here, and it works fast. Batteries drain far quicker at these temperatures than they do at home, so keep a spare battery or a backup power source in an inside pocket close to your body rather than in an outer pocket where it will cool down and lose charge before you need it. If your own phone dies mid-chase, that is one more reason the professional photos matter as a backup, not just a nice extra.
Gloves complicate every step of this, from unlocking the phone to pressing the shutter without shaking the frame at the last second. Liner gloves thin enough to leave your touchscreen working solve most of it, kept under a pair of mitts you pull back on the moment you have the shot.
Standing still at a chase stop, often at -6°C or colder, is also simply less comfortable when you are fumbling with cold hardware. Most guests find they get one or two good frames in the first few minutes at a stop and then are happy to pocket the phone and just watch, which is exactly what the guide's own camera is there to keep covering.
What the Guide's Photos Give You That Yours Will Not
All six tours on this site include guide-shot photos, delivered by download link the next day, taken by someone who is not also trying to stay warm and hold a phone steady at the same time. Snow Travels quotes 10 hours delivery on its unlimited ticket and 48 hours on the 5-hour option, so you are not waiting long. Snow Travels also lends tripods on its chase, useful if you want to shoot alongside the guide rather than relying only on their files.
The honest caveat: slow photo delivery is the most common complaint in the platform's own review summaries for a few of these tours, so treat the download link as a genuine bonus that sometimes takes longer than promised, not a guarantee that lands the moment you get home. Aurora itself runs roughly 6 p.m. to 2 a.m., and the best frames, from your own phone or the guide's camera, tend to come from the stops where everyone is stationary, not from anything shot through a moving minibus window.
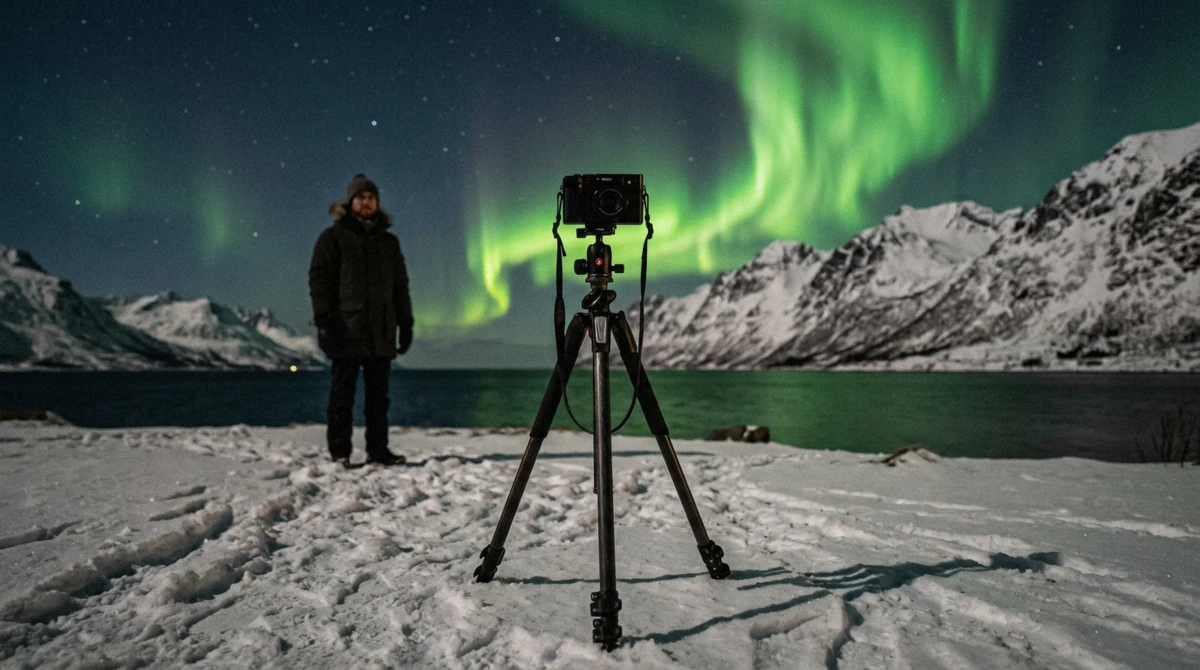
What to Carry, by Kit
If you are shooting on a phone only
pack a small tripod or plan to brace against a rail or rock, and keep the phone in an inside pocket between shots to save battery
If you brought a mirrorless or DSLR
bring a proper tripod, a remote shutter if you have one, and at least one spare battery kept warm inside your jacket
If you forgot a tripod entirely
book the northern lights chase, which lends tripods on its chase, or plan to brace against the vehicle or a fixed rail at each stop
If you would rather not manage settings at all
lean on the guide-shot photos delivered by download link the next day and keep your own phone for a few quick shots
If your battery dies mid-chase
do not worry about the night being unrecorded, every tour includes professional photos as a backup
A good phone photo of the aurora is genuinely achievable, it just asks for a few extra seconds of patience and something solid to lean the phone against. Most guests who try the settings above for the first time are surprised at how little extra effort it takes once the exposure and bracing click into place, and the difference between a smeared attempt and a genuinely shareable frame usually comes down to those two habits alone. For the layer system that keeps your hands warm enough to operate a phone at -6°C in the first place, see what to wear for the northern lights, and for reading the sky before you even reach for the camera, the forecast covers that in full.
The month you come decides how much sky you get to practise on, and we break that down in the month-by-month season guide.
Frequently Asked Questions
What is the best setting for the northern lights on my phone?
Night mode with a 3 to 10 second exposure, phone braced against something solid rather than handheld. Handheld at 3 seconds smears the shot almost every time.
How do I set my iPhone camera to take pictures of the northern lights?
Let Night mode trigger automatically in low light, then drag the exposure slider up toward the 3 to 10 second range manually if the phone stops short on its own. Tap a bright star to lock focus first.
Can an iPhone pick up the northern lights?
Yes, a recent iPhone in Night mode with a braced, several-second exposure captures a real aurora display clearly, often showing more colour than your own eyes register live.
Why does the aurora look better in photos than in real life?
Your eyes use rod cells in the dark, which read shape and movement but almost no colour. A camera on a long exposure gathers light over several seconds and records the green your eyes cannot pick up live, that is real physics, not a stronger display.
Do I need a tripod?
Not strictly. A rail, a rock, or a car roof works as a brace for a 3 to 10 second exposure. The northern lights chase also lends tripods if you did not pack one.
What settings work on a proper camera?
A wide lens at f/2.8 or faster, ISO 1600 to 3200, a 2 to 8 second shutter, and manual focus set to infinity checked against a bright star before the display starts.
Will my own photos be as good as the guide's?
Probably not, and that is fine. The guide is not also trying to stay warm and hold a phone steady, and every tour delivers professional photos by download link the next day as a genuine backup.